Introduction
If you’re looking to efficiently cool or heat your home, a 5-zone mini-split system could be the perfect solution. These systems allow you to independently control the temperature in up to five different zones of your home, providing personalized comfort for each space. In this guide, we will walk you through the installation process of a 5-zone mini-split system.
1. Assess Your Cooling and Heating Needs
Before you start the installation process, it’s important to assess your cooling and heating needs. Consider the size of each zone, the number of occupants, and the desired temperature range for each area. This will help you determine the appropriate capacity and configuration for your mini-split system.
2. Select the Right Mini-Split System
Once you have assessed your needs, it’s time to select the right 5-zone mini-split system for your home. Look for systems that offer customizable configurations, advanced features such as variable-speed compressors, and a high energy efficiency rating. It’s also essential to choose a reputable brand with a reliable warranty and good customer support.
3. Gather the Necessary Tools and Materials
Before you begin the installation process, gather all the necessary tools and materials. This may include a drill, hole saw, level, wire strippers, refrigerant line set, mounting brackets, and electrical wiring. It’s important to have everything on hand to ensure a smooth and efficient installation.
4. Plan the Location and Placement of the Indoor and Outdoor Units
Next, plan the location and placement of the indoor and outdoor units. The indoor units should be strategically placed in each zone to ensure optimal airflow and coverage. Consider factors such as the size and layout of the room, as well as any potential obstacles that may block the airflow. The outdoor unit should be installed in a well-ventilated area that is easily accessible for maintenance.
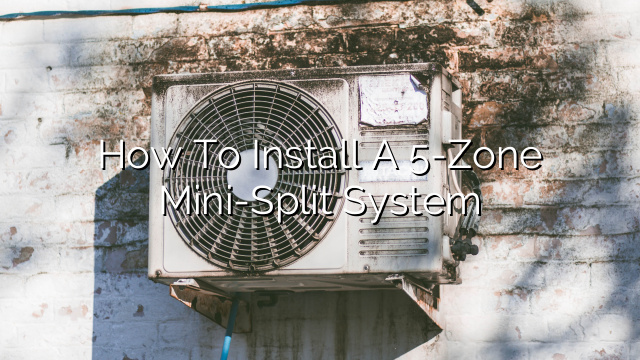
5. Mount the Outdoor Unit
Once you have determined the ideal location for the outdoor unit, use the mounting brackets to securely install it on a sturdy surface. Ensure that the unit is level and properly anchored to prevent vibrations and reduce noise. Remember to refer to the manufacturer’s instructions for specific installation guidelines.
6. Install the Indoor Units
Now it’s time to install the indoor units in each zone. Determine the desired height for each unit and use a level to ensure they are mounted straight. Carefully drill holes in the wall to accommodate the refrigerant line set and electrical wiring. Connect the refrigerant lines to the indoor units and insulate them to prevent heat loss or gain.
7. Connect the Refrigerant Lines and Electrical Wiring
Connect the refrigerant lines from the outdoor unit to each indoor unit. Use a flaring tool to create the necessary flare connections, ensuring a secure and leak-free joint. Connect the electrical wiring, making sure to follow local electrical codes and safety guidelines. Test the connections to ensure proper operation.
8. Perform a Vacuum and Leak Test
Before charging the system with refrigerant, perform a vacuum and leak test to ensure the integrity of the installation. Use a vacuum pump to remove any moisture or air from the refrigerant lines and indoor units. Then, pressurize the system and use a leak detector to check for any leaks. Repair any leaks found before proceeding.
9. Charge the System with Refrigerant
Once the vacuum and leak test is complete, it’s time to charge the system with refrigerant. Follow the manufacturer’s instructions for the specific type and amount of refrigerant needed for your system. It’s crucial to achieve the correct refrigerant charge for optimal performance and efficiency. Consider hiring a professional HVAC technician to ensure accurate charging.
10. Test and Fine-Tune the System
After the system is charged with refrigerant, it’s time to test and fine-tune the system. Turn on each indoor unit and verify that it is providing the desired cooling or heating to its respective zone. Adjust the airflow, temperature, and fan speed settings as needed. Fine-tune the system to achieve maximum comfort and energy efficiency.
Conclusion
By following these steps, you can successfully install a 5-zone mini-split system in your home. Remember to carefully plan the location and placement of the units, gather the necessary tools and materials, and follow the manufacturer’s instructions throughout the installation process. A properly installed mini-split system can provide personalized comfort and energy efficiency for all the zones in your home.