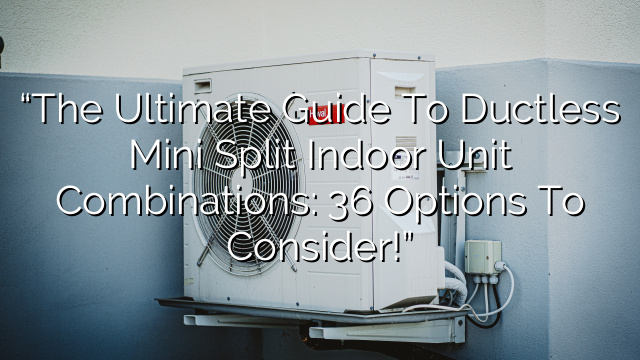
Introduction
DIY mini-split systems have become a popular option for homeowners who want to heat or cool specific areas of their homes without the need for a central heating or cooling system. These systems are cost-effective, energy-efficient, and easy to install. With a little bit of knowledge and the right tools, you can easily install a DIY mini-split system in your home. In this blog post, we will provide you with a step-by-step guide on how to install a DIY mini-split system.
Step 1: Choose the Right System
Before you start the installation process, it is important to choose the right DIY mini-split system for your needs. Consider the size of the area you want to heat or cool, the capacity of the system, and any additional features you may require. Research various brands and models to find the one that best suits your needs and budget.
Step 2: Gather the Tools and Materials
Once you have chosen the right DIY mini-split system, gather all the necessary tools and materials for the installation process. Here is a list of some of the common tools and materials you may need:
- Mini-split system
- Mounting brackets
- Drill
- Screwdriver
- Level
- Wire strippers
- Electrical tape
- Refrigerant lines
- Insulation
Step 3: Plan the Installation
Before you start the actual installation process, it is important to plan the installation. Decide where you want to install the indoor and outdoor units of the mini-split system. Consider the placement of the units to ensure efficient cooling or heating of the area. Take measurements to determine the best location for the units.
Step 4: Install the Indoor Unit
Start the installation process by installing the indoor unit of the DIY mini-split system. Locate the desired position for the unit and mount the bracket on the wall using a drill and screws. Make sure the bracket is level. Attach the indoor unit to the bracket and secure it in place. Connect the refrigerant lines and electrical wires to the unit following the manufacturer’s instructions.
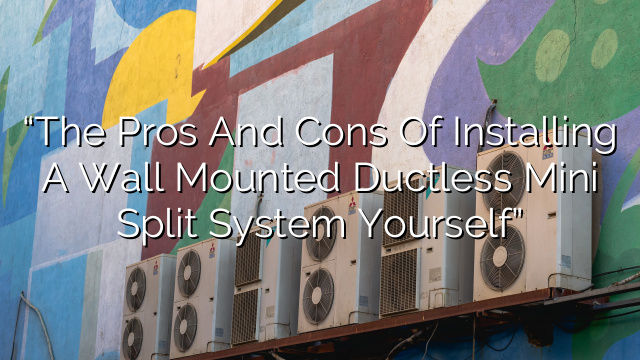
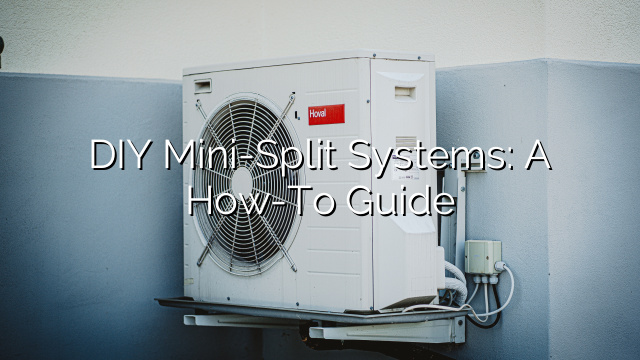
Step 5: Install the Outdoor Unit
After installing the indoor unit, it is time to install the outdoor unit of the DIY mini-split system. Find an appropriate location for the outdoor unit and mount it on a wall or a sturdy surface using the mounting brackets. Make sure the unit is level. Connect the refrigerant lines and electrical wires to the unit, following the manufacturer’s instructions. Ensure that the refrigerant lines are properly insulated to prevent any heat loss or damage.
Step 6: Connect the Units
Once both the indoor and outdoor units are installed, it is time to connect them. Drill a hole through the wall to pass the refrigerant lines, electrical wires, and condensate drain pipe from the indoor unit to the outdoor unit. Connect the lines and wires, making sure they are properly insulated and sealed. Check for any leaks or loose connections.
Step 7: Test the System
After completing the installation process, it is important to test the DIY mini-split system to ensure it is working properly. Turn on the power to the system and adjust the temperature settings. Check for any unusual sounds, vibrations, or leaks. Monitor the system for a few hours to ensure it is cooling or heating the area effectively.
FAQ
Q: Are DIY mini-split systems easy to install?
A: Yes, DIY mini-split systems are relatively easy to install. With the right tools and some basic knowledge, you can install a DIY mini-split system in your home.
Q: Do I need to hire a professional for the installation?
A: It is not necessary to hire a professional for the installation of a DIY mini-split system. However, if you are not comfortable with the installation process or lack the necessary tools, it is advisable to seek professional help.
Q: How long does it take to install a DIY mini-split system?
A: The installation time for a DIY mini-split system can vary depending on the complexity of the installation and your level of experience. In general, it can take anywhere from a few hours to a full day to install a DIY mini-split system.
Q: Are DIY mini-split systems energy-efficient?
A: Yes, DIY mini-split systems are known for their energy efficiency. These systems allow you to heat or cool specific areas of your home, reducing energy waste and lowering your utility bills.
Q: Can I install a DIY mini-split system in any room?
A: Yes, you can install a DIY mini-split system in any room as long as there is an appropriate location for the indoor and outdoor units. However, it is important to consider the size of the area and the capacity of the system to ensure efficient heating or cooling.
Conclusion
Installing a DIY mini-split system can be a cost-effective and easy way to heat or cool specific areas of your home. By following the step-by-step guide provided in this blog post and using the right tools and materials, you can successfully install a DIY mini-split system in your home. Enjoy the comfort and energy efficiency that a DIY mini-split system offers!