
HVAC Duct Leakage Testing: Essential Tools and Procedures
Ensuring your HVAC system operates efficiently is critical not only for maintaining a comfortable environment but also for keeping energy costs down and prolonging the life of your system. One key factor in HVAC efficiency is the integrity of the ductwork, as even small leaks can result in significant energy loss. That’s why HVAC duct leakage testing is a vital procedure for both residential and commercial systems. This post will discuss the essential tools and procedures necessary for conducting effective duct leakage testing.
The Importance of Duct Leakage Testing
Duct leakage can lead to a range of issues, including decreased system efficiency, increased energy bills, uneven heating and cooling, and poor indoor air quality. Testing for duct leakage is a proactive measure to ensure the system is sealed correctly and performing at its best. Identifying and sealing leaks can greatly increase the efficiency of your HVAC system and reduce operating costs.
Essential Tools for Duct Leakage Testing
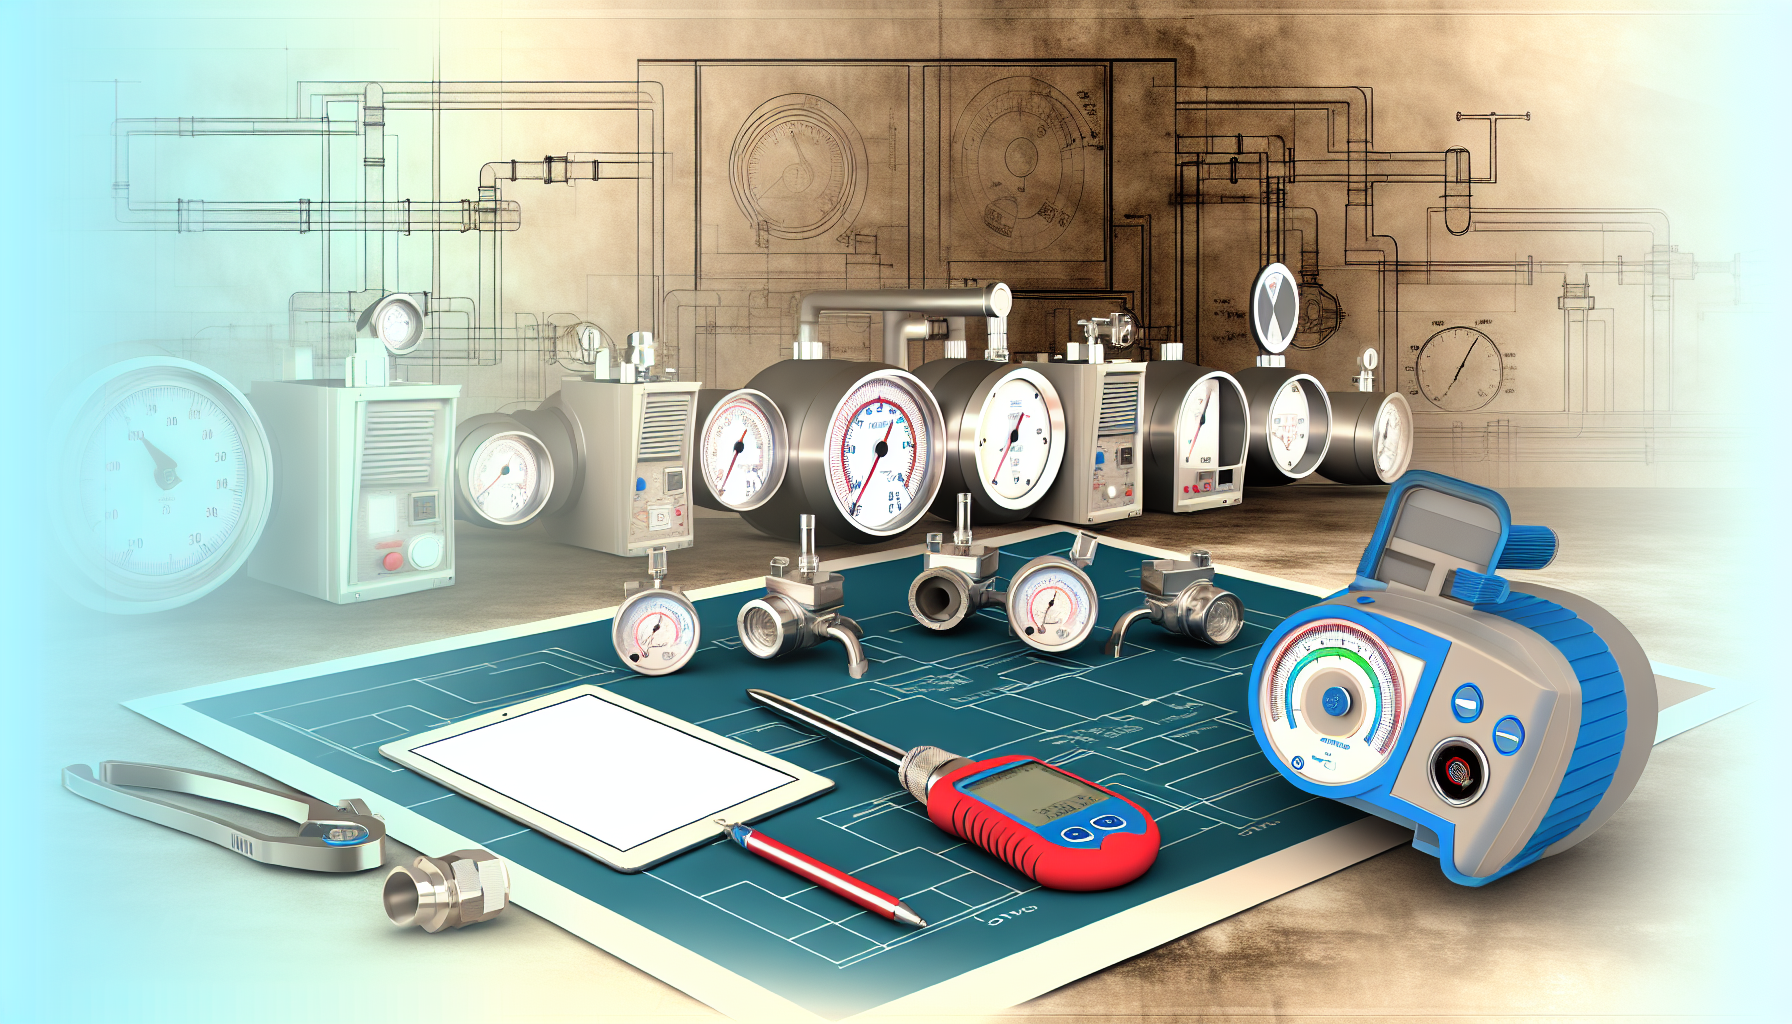
- Duct Blaster: A duct blaster is a calibrated fan that is used to pressurize and measure the air leakage in the duct system.
- Manometer: This device measures the pressure differences within the duct system and can help identify the location of leaks.
- Smoke pencils or smoke machines: These tools generate a visible smoke that can be used to pinpoint the exact location of leaks when the duct system is under pressure.
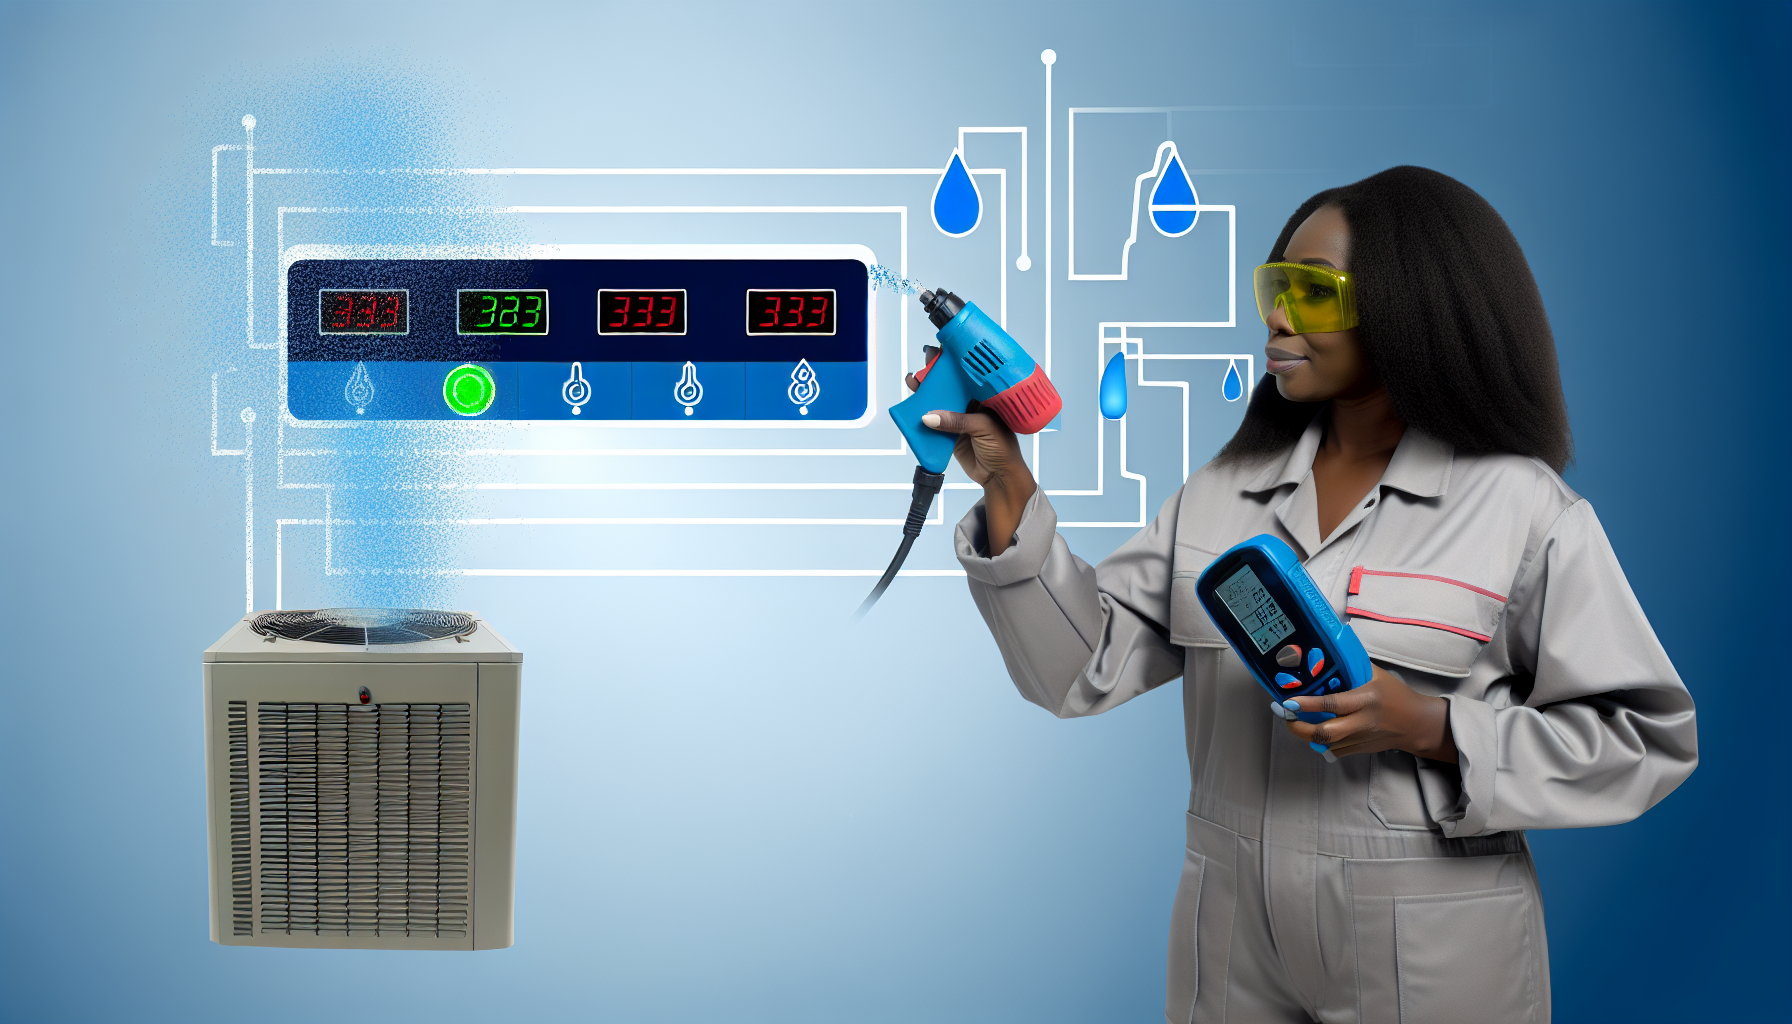
- Leakage detector: Some technicians may use an electronic leakage detector, which can help identify high leakage areas by detecting the flow of air.
- Mastic or aluminum tape: Once leaks are identified, these materials are used to seal them properly. Mastic is a flexible sealant, while aluminum tape is a metal-backed adhesive tape.
- Personal Protective Equipment (PPE): Safety glasses, gloves, and sometimes a respirator are required to protect the technician during the testing and sealing process.
Procedures for Conducting Duct Leakage Testing
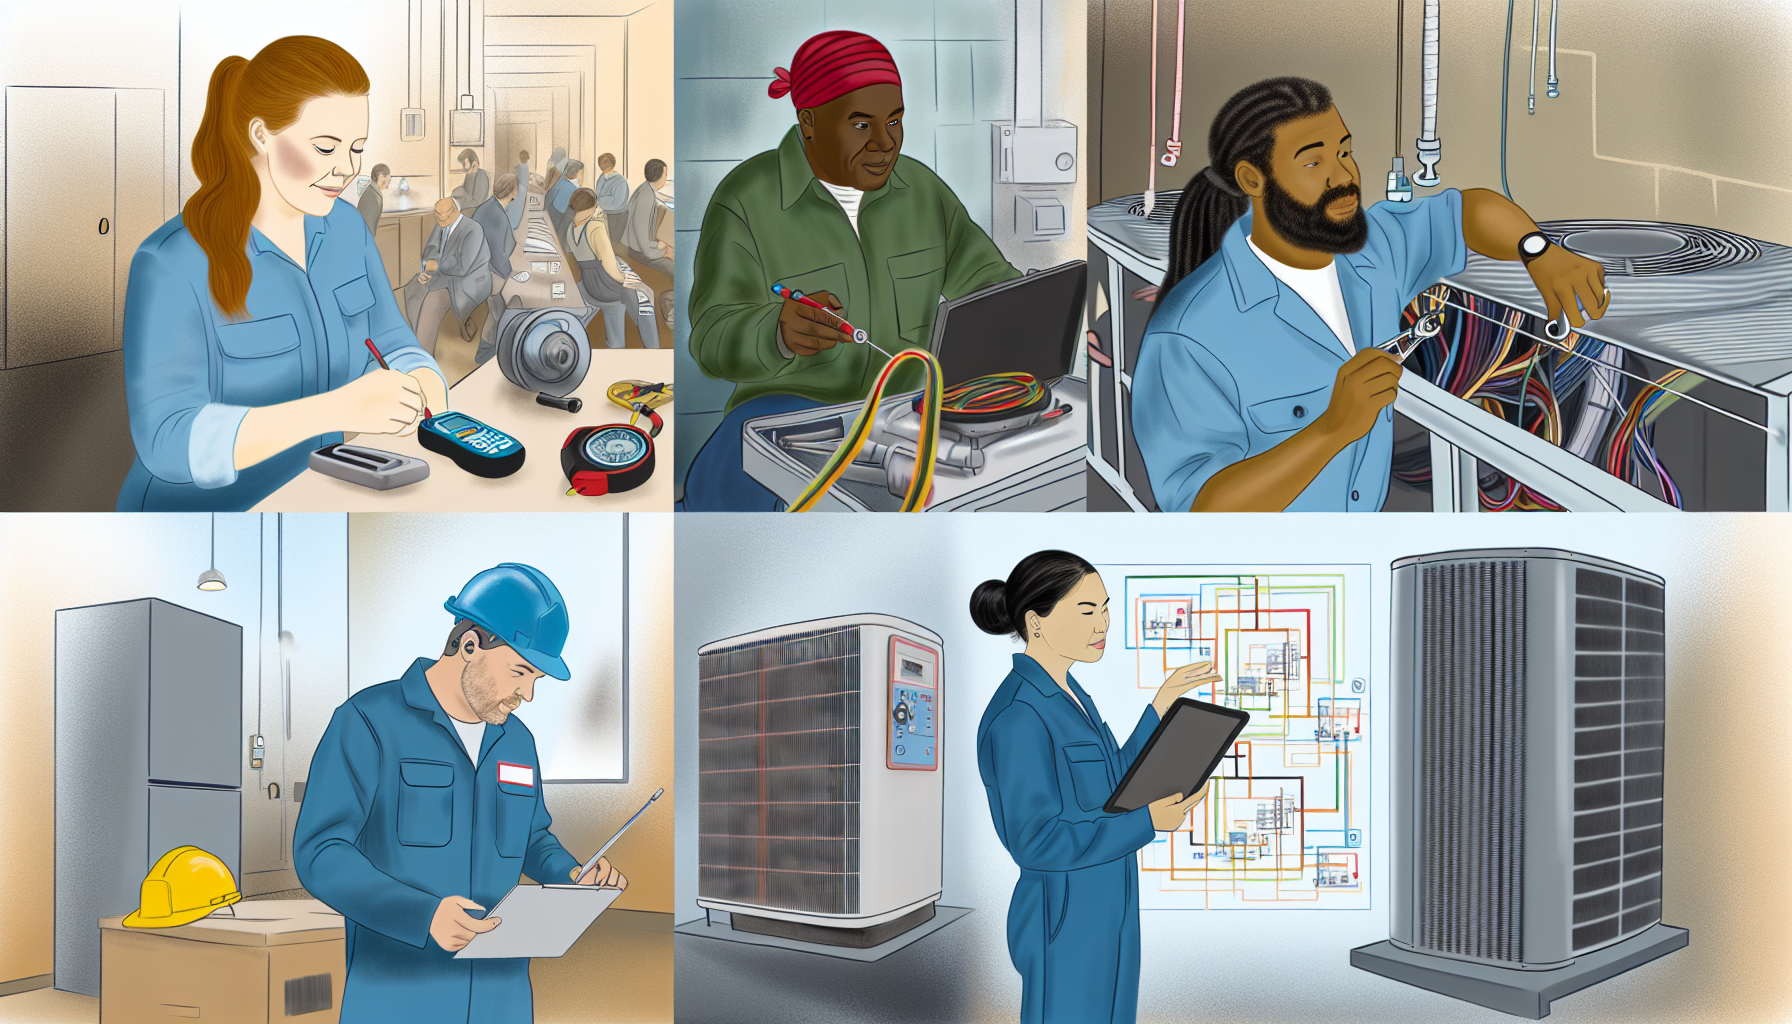
Performing an accurate and effective duct leakage test involves several steps and should be carried out by a qualified technician. Here we outline the general process:
- Prepare the Duct System:
- Cover all registers and grilles with tape or calibrated grill masks to prevent air from escaping during testing.
- Ensure that the duct system is accessible and safe for the technician to work around.
- Set Up the Duct Blaster:
- Connect the duct blaster to the duct system, typically at the air handler or a return grille.
- Seal the duct blaster to the duct to prevent air leakage around the connection point.
- Conduct the Pressurization Test:
- Turn on the duct blaster to pressurize the duct system to a specific pressure, usually 25 pascals.
- Use the manometer to measure the pressure differential; this will help in calculating the amount of leakage.
- Identify Leaks:
- Use smoke pencils or a smoke machine to locate leaks as pressured air pushes smoke out through any cracks or holes.
- Make a note of all detected leaks for subsequent sealing.
- Seal the Leaks:
- Apply mastic or aluminum tape over leaks, ensuring a complete and durable seal.
- For larger gaps, you may need to use mastic with a reinforcing mesh or patch with sheet metal.
- Repeat the Test and Verify Repair:
- After sealing, repeat the testing process to verify that leaks have been effectively sealed.
- If additional leaks are detected, repeat the sealing process until the leakage is within acceptable limits specified by local codes or industry standards.
Once leaks are identified and sealed, a final test should confirm that the duct system meets the required tightness standards. It is crucial to follow up with proper HVAC maintenance to ensure system longevity and efficient operation.
FAQs about HVAC Duct Leakage Testing
What are the benefits of duct leakage testing?
Duct leakage testing can lead to improved energy efficiency, lower utility bills, enhanced comfort levels within the home or building, and better indoor air quality.
How often should duct leakage testing be performed?
Duct leakage testing is recommended when installing a new system, after any major renovations, or if there are signs of decreased efficiency or uneven heating and cooling. Testing every few years or as needed can help maintain system performance.
Can duct leakage affect my health?
Yes, leaks in the ductwork can pull dust, insulation fibers, car exhaust, or other pollutants into your home, compromising indoor air quality and potentially impacting health.
How much does duct leakage testing cost?
The cost of duct leakage testing can vary based on several factors including the size of the home or building, accessibility of the ductwork, and whether it is a residential or commercial system. Costs can range from a few hundred to several thousand dollars.
Can I seal duct leaks myself?
While some minor duct leaks can be sealed by a homeowner using mastic or aluminum tape, professional testing and sealing are recommended to ensure leaks are identified and sealed properly, and to avoid damage to the HVAC system.
Is duct tape suitable for sealing duct leaks?
Despite its name, traditional fabric-based “duct tape” is not recommended for sealing duct leaks because it tends to degrade over time and lose its adhesive properties. Foil-backed tape or mastic is preferred for long-lasting seals.
Conducting regular HVAC duct leakage testing is crucial for maintaining system efficiency and improving indoor air quality. By utilizing the right tools and following thorough procedures, you can ensure that your HVAC system operates at peak performance while also conserving energy and reducing utility expenses. Remember to employ qualified technicians and conduct follow-up tests after repairs to maintain maximum efficiency.