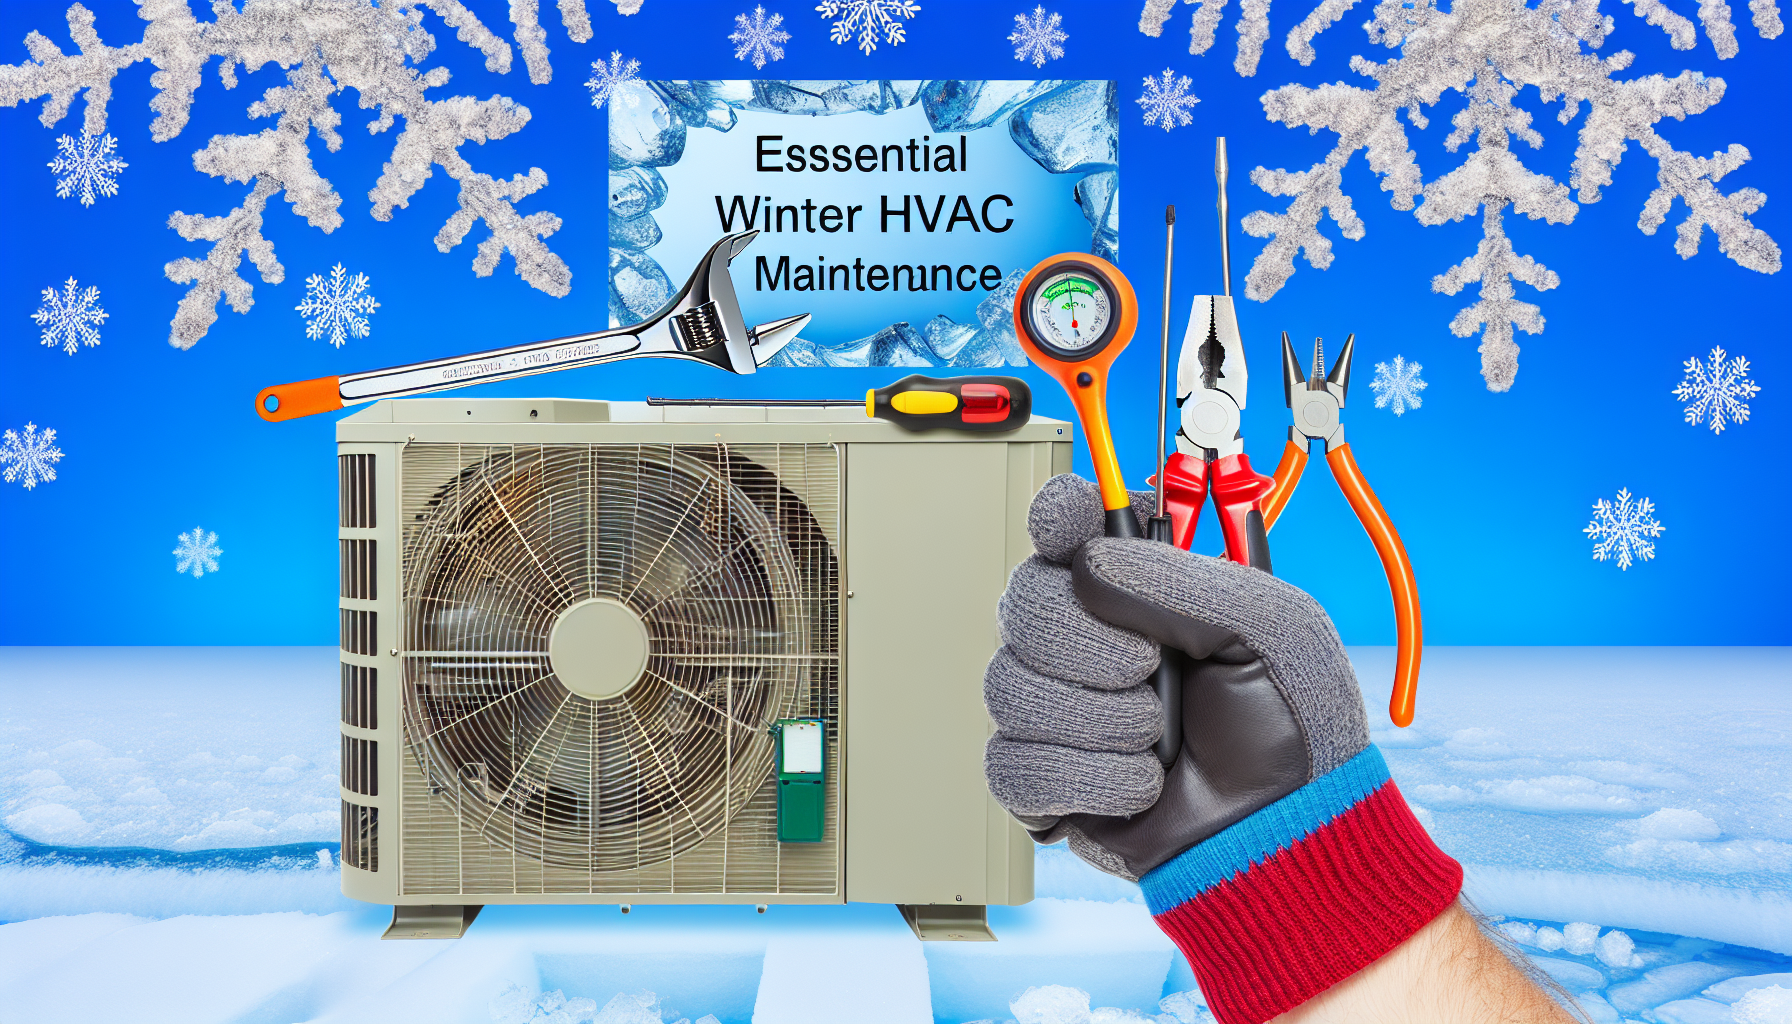

Introduction to HVAC Maintenance
Maintaining your HVAC system is essential for ensuring it runs efficiently and effectively all year round. Not only does regular maintenance keep your energy bills down, but it also extends the lifespan of your unit. A critical part of this maintenance is cleaning the coils, which are vital to the heat exchange process. Let’s dive into the essential tools you’ll need and a detailed guide on how to clean your HVAC coils like a pro.
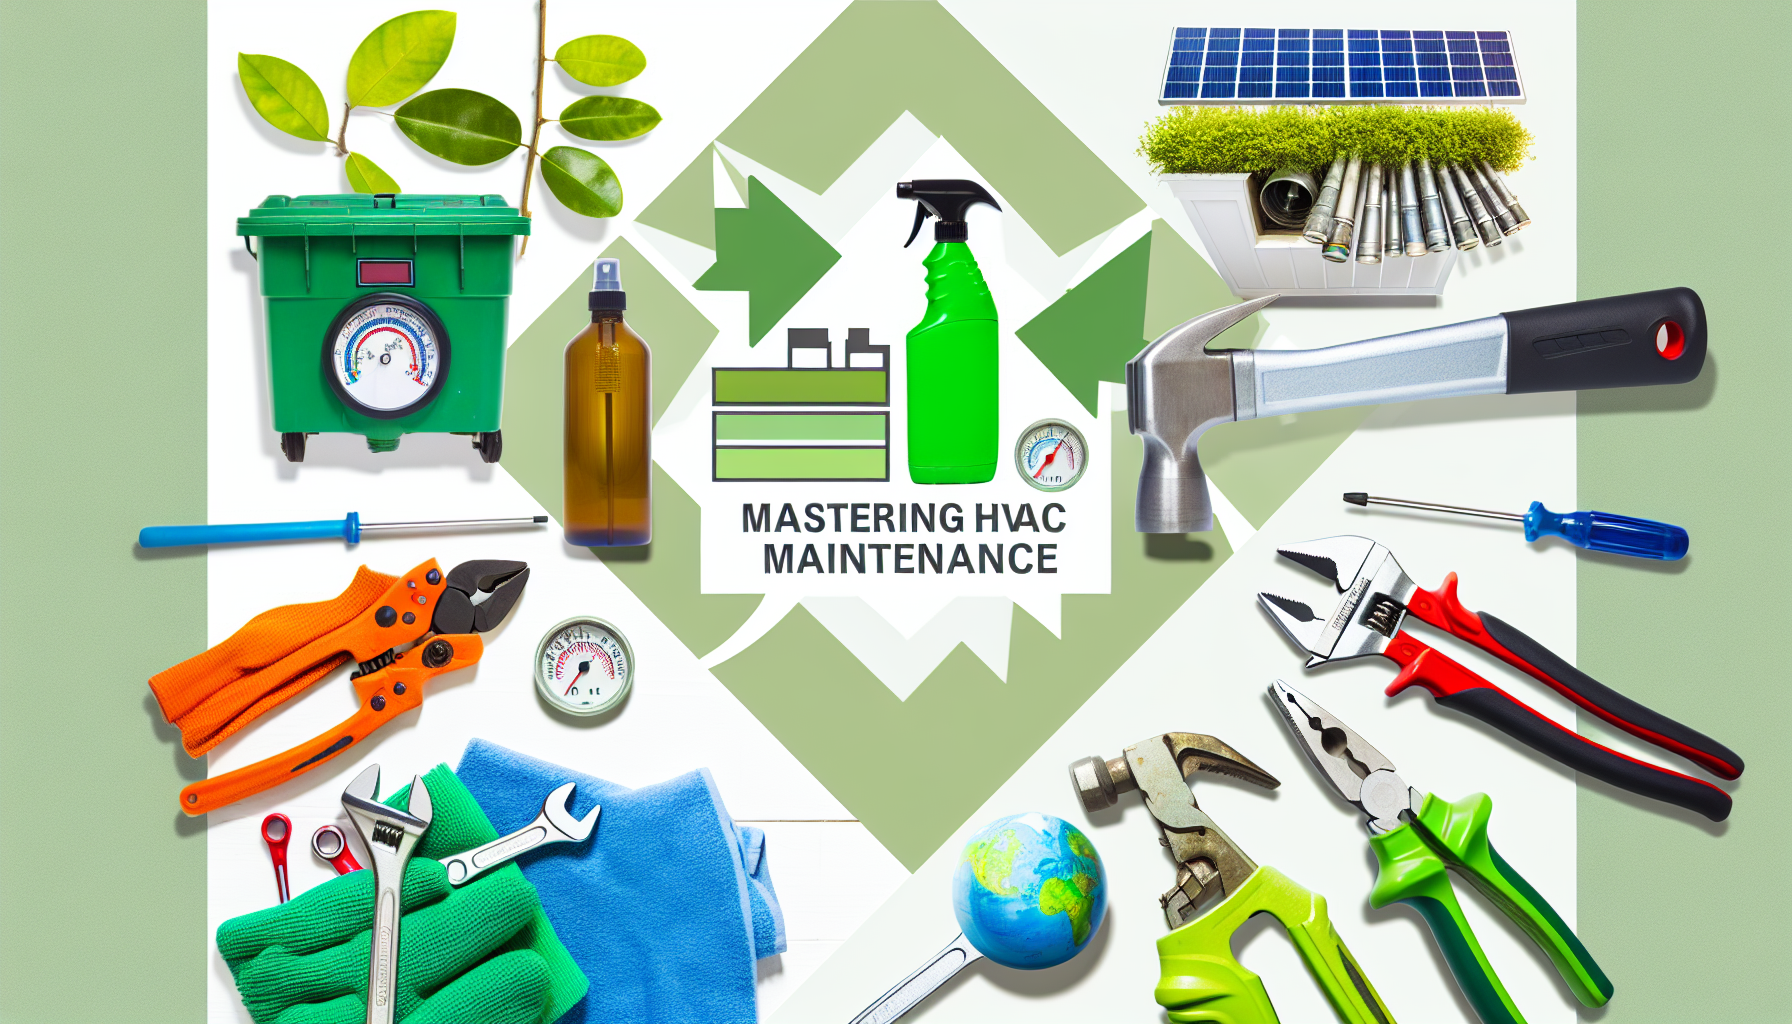
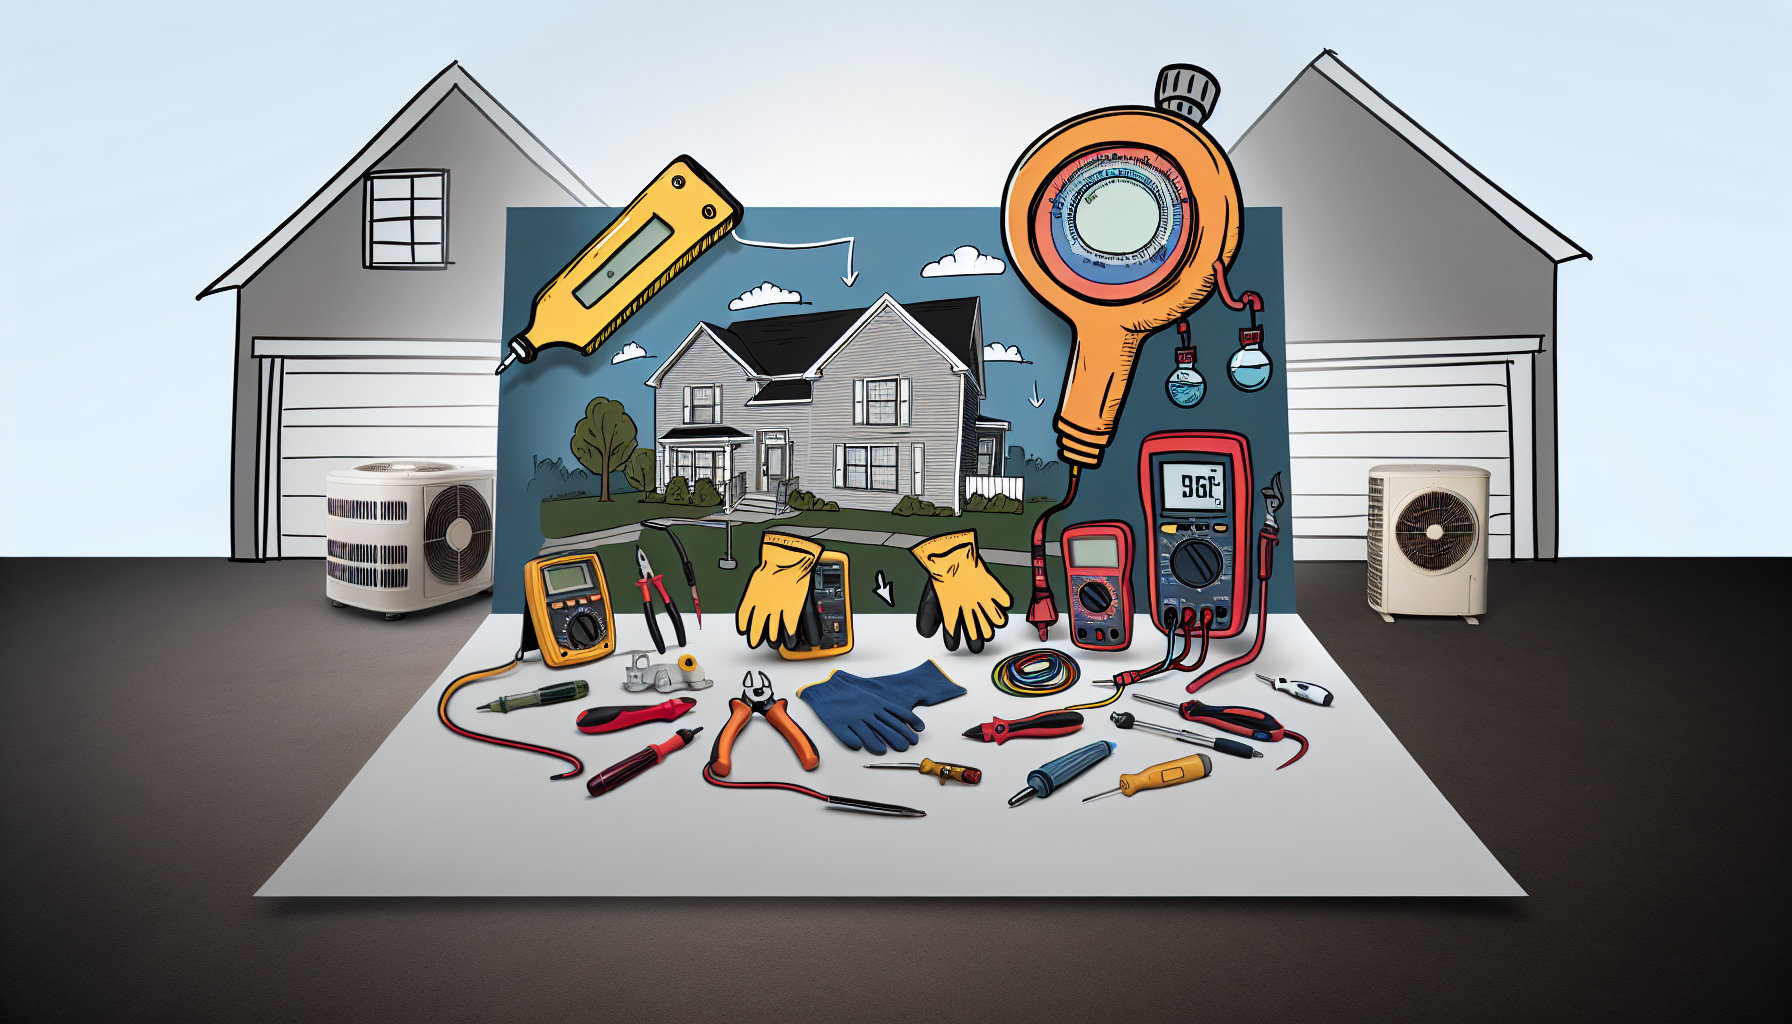
Essential HVAC Maintenance Tools
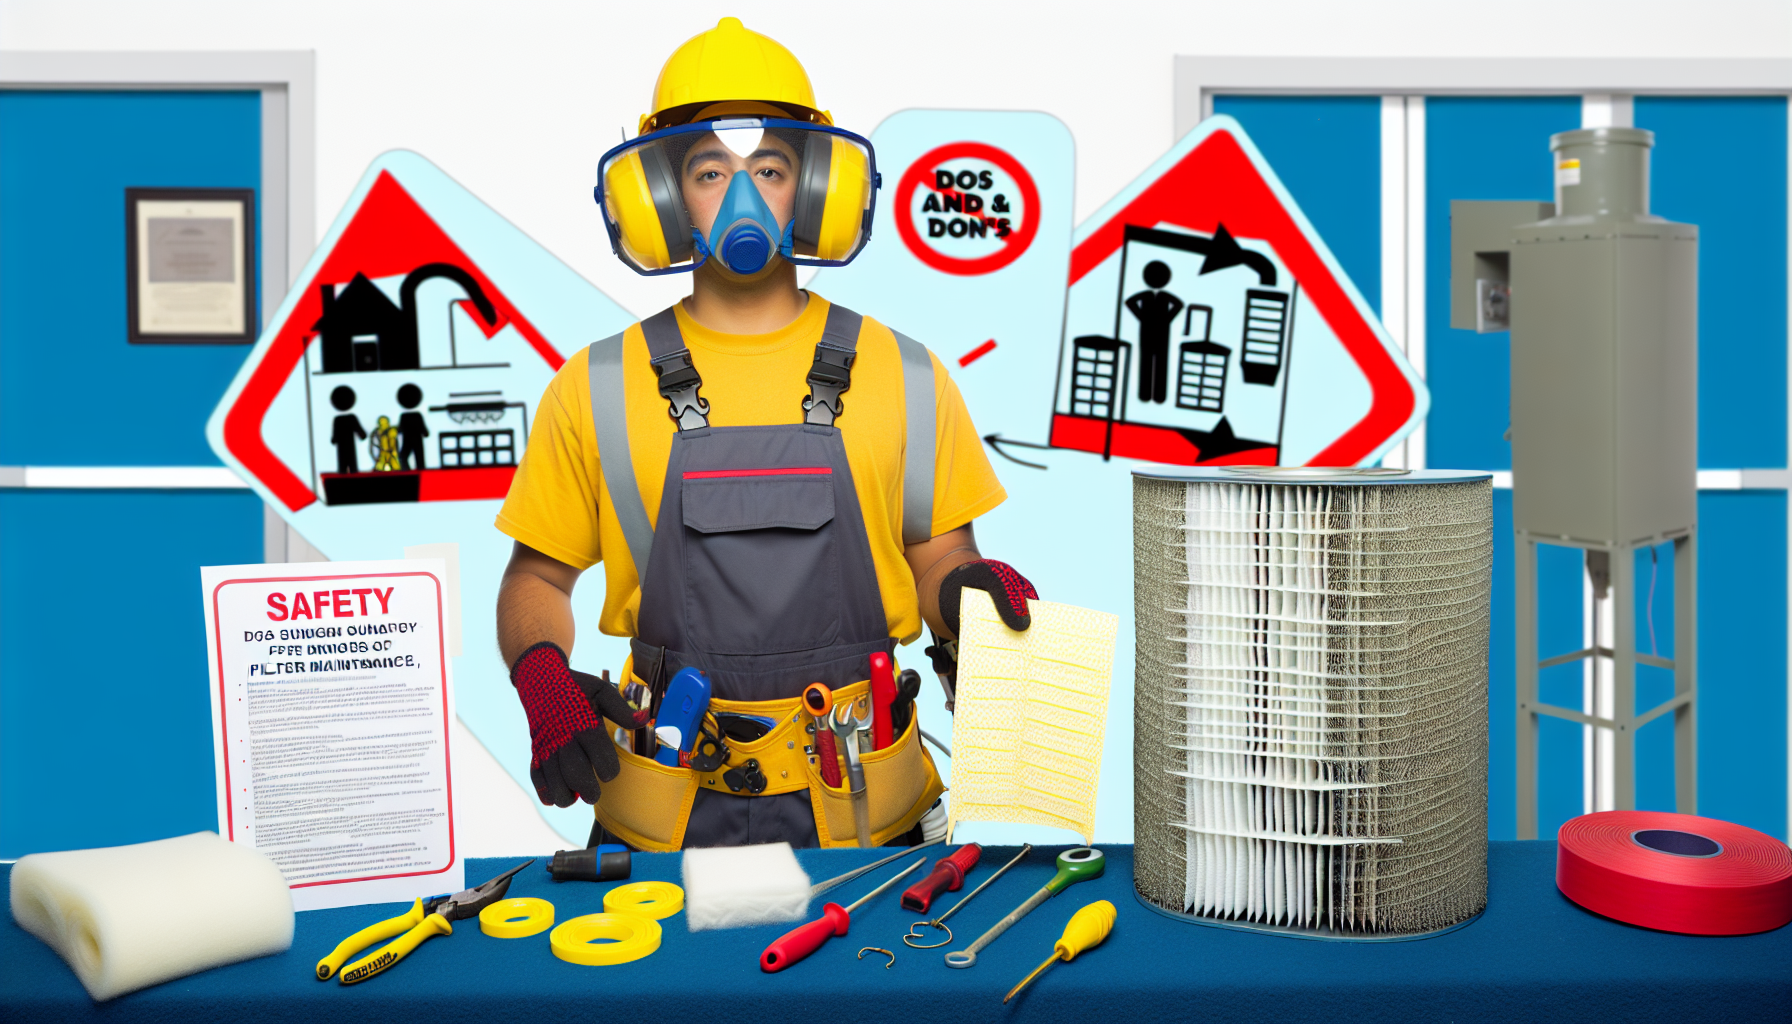
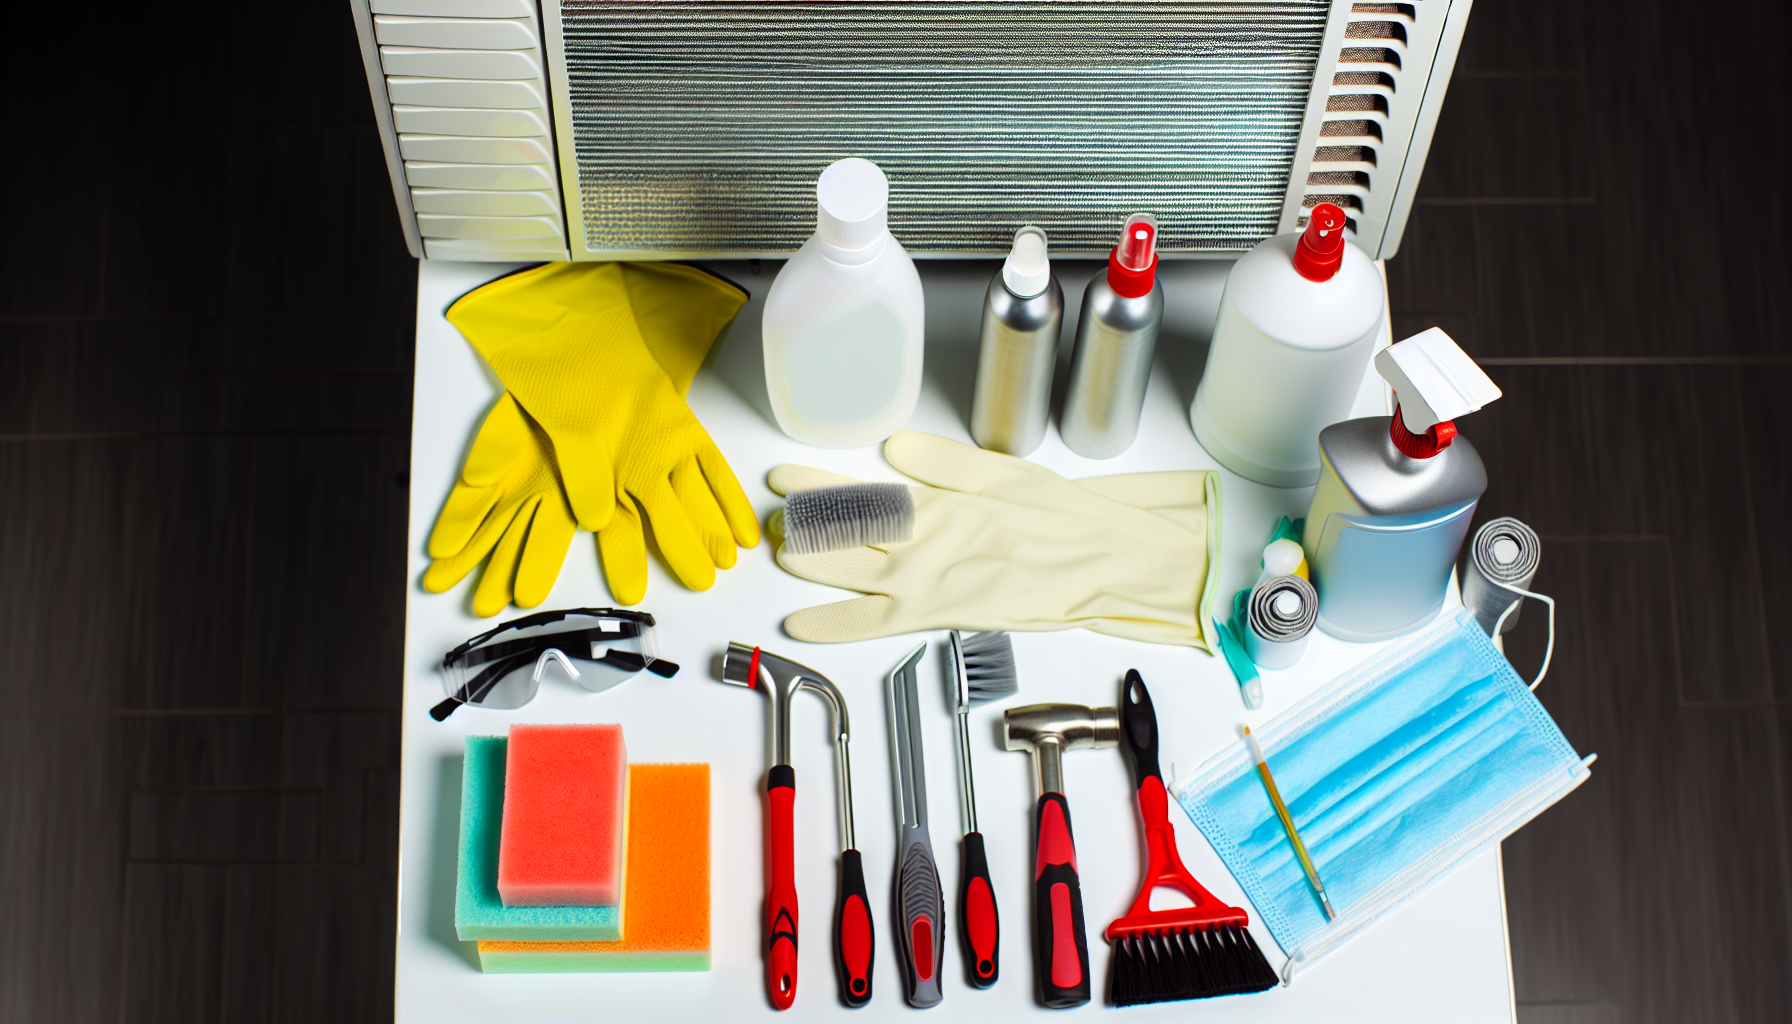
Before you embark on the maintenance journey, you’ll need to arm yourself with the right tools. Here’s a list of essential HVAC maintenance tools that should be in your toolkit:
- Fin Comb: This tool helps straighten any bent coil fins, which can affect your unit’s efficiency.
- Coil Cleaning Solution: A specialized cleaning solution that can remove dirt and debris without damaging the coils.
- Soft Bristle Brush: Used for gently scrubbing the coils without causing harm to the delicate fins.
- Garden Hose with Spray Nozzle: For rinsing off the cleaning solution and any loosened debris from the coils.
- Screwdrivers and Wrenches: For opening the access panel to your unit’s coils.
- Protective Gloves and Eyewear: To protect your hands and eyes from debris and cleaning agents.
- Power Washer (Optional): For a more thorough cleaning, though it must be used with caution to avoid damaging the coils.
Pro Coil Cleaning Guide
Cleaning your HVAC coils is a task that you can do on your own with a bit of knowledge and the right tools. Here’s an easy-to-follow guide:
Step 1: Power Down Your HVAC System
Before you start any maintenance work, safety comes first. Turn off the power to your HVAC unit at the circuit breaker to prevent any accidents.
Step 2: Access the Coils
Use your screwdrivers and wrenches to remove the access panel and expose the coils. In some units, you may find both the condenser and evaporator coils, while others will have one or the other.
Step 3: Inspect and Prep
Take a moment to inspect the coils for any significant damage or bending. Use the fin comb to carefully straighten out bent fins. Remove any large debris by hand or with the brush gently.
Step 4: Apply Cleaning Solution
Mix your coil cleaning solution according to the manufacturer’s instructions, and apply it to the coils thoroughly. Be sure to coat all areas, as the solution will break down grime and build-up.
Step 5: Let the Solution Soak
Allow the cleaning solution to soak into the coils for the time specified by the product manufacturer. This step is essential to ensure the cleaning agent has time to work effectively.
Step 6: Scrub the Coils
With a soft bristle brush, gently scrub the coils to remove any stuck-on dirt. Be gentle to avoid bending the fins or damaging the coils.
Step 7: Rinse the Coils
Using a garden hose with a spray nozzle, carefully rinse the coils, ensuring all cleaning solution and loosened debris are washed away. If you’re using a power washer, make sure to use it on a low setting to prevent damaging the coils.
Step 8: Reassemble and Restore Power
Once the coils are clean and dry, replace the access panel and restore power to the unit. It’s essential to make sure everything is dry to avoid short circuits.
Tips for HVAC Maintenance Success
Here are some extra tips to keep your HVAC system well maintained:
- Regular Checks: Frequently inspect your unit for signs of wear and tear. Catching issues early can prevent costly repairs.
- Professional Inspections: Having a professional technician inspect your HVAC system at least once a year can ensure it’s running optimally.
- Clean or Replace Air Filters: Dirty air filters make your HVAC system work harder than it should. Clean or replace them every 1-3 months.
- Clear Debris: Keep the area around your outdoor unit clear of leaves, twigs, and other debris that can obstruct air flow.
- Check Insulation: Proper insulation around your HVAC system helps maintain efficiency by keeping the treated air where it should be.
Frequently Asked Questions (FAQs)
How Often Should HVAC Coils Be Cleaned?
A: It’s recommended to clean HVAC coils at least once a year, but if you live in an area with high levels of dust or pollen, you may need to do it more frequently.
Can I Clean HVAC Coils Without a Professional?
A: Yes, as long as you have the right tools and follow a detailed guide like the one provided here. However, if there’s significant damage or if you’re uncomfortable doing it yourself, it’s best to hire a professional.
What Are the Signs That My HVAC Coils Need Cleaning?
A: Decreased airflow, an increase in energy bills, or the system not cooling or heating effectively are common signs that your coils may need cleaning.
Is Coil Cleaning Necessary for New HVAC Systems?
A: Yes, even new systems require regular maintenance to ensure they are working at peak efficiency. Following your manufacturer’s guidelines for maintenance is essential.
Can Dirty Coils Affect Indoor Air Quality?
A: Absolutely. Dirty coils can harbor bacteria and mold, reducing air quality and possibly causing health issues for occupants.
Conclusion
Mastering the art of HVAC maintenance is a sure-fire way to keep your system running smoothly while saving money on repairs and energy bills. By having the essential tools on hand and following the pro coil cleaning guide outlined above, you’ll ensure that your HVAC system operates efficiently for years to come.
Remember, for a real WordPress post, you would not typically need to include HTML tags for paragraph elements (`
`), as the WordPress editor usually handles paragraph spacing for you. When creating content for a WordPress post, you might also use the WordPress visual editor or block editor (Gutenberg) which allows you to add and format content without directly writing HTML.